If you're a Microsoft Windows user, and unless you keep absolutely everything as a shortcut on your desktop, you have used Windows Explorer though you may not be familiar with its name. It is a handy utility that allows one to explore the contents of a disk drive, starting from My Computer and drilling down into My Documents, or any other folder on your computer's disk. ServerFileExplorer performs similar functions but in a different environment: that of a remote server. If you, for example, maintain a web site (or any other collection of files) that resides on a remote machine, then you may find this useful. If you are able to map the remote drive so it acts like a local drive, as in E: or Z:, then you can still use Windows Explorer, so you probably do not need to install and learn a new utility.
| N U T S H E L L | |
| Product | ServerFileExplorer |
|---|---|
| Description | Explorer interface for remote hosts |
| Language | Perl |
| Interface | GUI/browser |
| Platform | any |
| Reference | API FAQ LiveProgram |
For the situation where you have login access but nothing further, ServerFileExplorer could indeed be a useful tool. Once you install ServerFileExplorer as a CGI program under the web server on the remote host, you may then access its Explorer-like functions from a web browser on your local machine. The illustration shows a typical view of files and directories, similar to the Details view under Window Explorer. (Select the illustration to see it full size.) The standard display includes file or folder name, last modified date,owner and group (typically found on Unix and Linux machines), permissions, and file size. You may select any file or folder to open it. Additionally, you may sort by any column in ascending or descending order. Note that the file size is displayed in a manageable chunk, either bytes, kilobytes, or megabytes. But if you hover over the size figure, the exact size in bytes will be displayed.

There are actually four modes, selectable by the four buttons shown at the upper left of the screen illustration -- list, tree, all, and image. The first illustration shows the default list view. Just like Windows Explorer, the folders are listed, followed by the files. The second illustration shows the all mode, where all entries are displayed the same, sorted without regard to file/folder distinction. Not a tremendous difference, but useful on occasion.

The third mode -- tree view -- is a departure from the typical Explorer capability. From the current point in your directory display, this view presents all files and folders hierarchically from that point down. You may then directly access any file by selecting it, just as in the non-tree view above. Additionally, this presents a convenient way to search for a file by name--simply use your browser's find command. Finally, note that in any of the display modes, ServerFileExplorer points out to you the files that are new since the last time you checked (via cookies). The newly added files are marked in boldface; others are not emboldened.

The next mode -- image view -- is similar to the thumbnail mode of Windows Explorer. In ServerFileExplorer, however, you will see thumbnails only of those file formats that are commonly supported by browsers -- gif, jpeg, and png. Other files, plus folders, are still shown as if in list mode. Note that this particular listing shows all the file types recognized by ServerFileExplorer (a collection of icons used next to the file names to graphically identify the file type). You may therefore customize this list to your own liking by simply replacing or adding icon graphics.


A handy feature of image mode (which Windows Explorer does not have) is the ability to reduce or enlarge the thumbnails with a single key. Use the plus sign to double the size of each image; pressing it again will double the size again. Similarly the minus sign cuts images in half each time you press it.
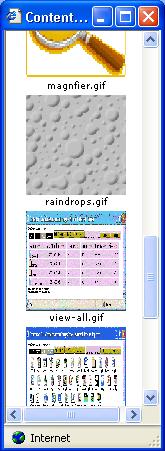
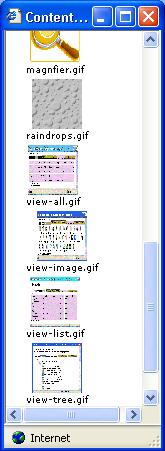
Here is just one technique for taking advantage of that and more: The illustration at left shows a directory of images; some are clip art logos, some are saved screen shots. First, let's adjust the window so it is a vertical rectangle... but even when you view the window at normal size (by selecting it), you'll observe the screen shots are just too tiny. So at far right, you'll see the window after images have been enlarged one step. Look at that at full size and you'll at least have a hint what they contain. If still too small, though, just press the plus sign again to enlarge once more.

Now for the best part: when you select a folder on screen, ServerFileExplorer will display that directory in the same window. But when you select any file, ServerFileExplorer puts that in a separate window. Each time you select a new file, it goes to the same target window. So if you select one of the graphic images in the window, then align that target window with the vertical pane containing the thumbnails, now you've got an image previewer, as shown. You may scroll the thumbnails up or down; each time you select one it appears full size in the target window.

Finally, for those interested in a peek under the hood, the illustration at right diagrams the flow of a transaction for tree view (click on the illustration to enlarge). The numbers here correspond to the numbers in the figure: